Drilling a new recumbent carbon fiber seat for a Bacchetta frame with a seat plate ( CA1, CA2, CA3 or Aero) is critical to having the seat, and therefore you, aligned with the wheels. It takes time and patience, so you only want to do it once. And if you do it wrong, you are cockeyed on the recumbent.
First read the article on how to attach your drilled recumbent seat to the bike. This will give you insight into what hardware you might want to use.
This job is challenging if you want to do it well, as there are not good consistent reference points on a carbon recumbent seat, just a lot of curves. It's hard to approach it with a tape measure and just mark it for drilling,
My first method involved a recumbent seat plate frame (CAx or A) and a set of struts and hardware. This is probably what most home mechanics will want to do:
First, position the strut brackets an inch farther down the seat than a Bacchetta Brain Box reaches. This way your strut location never limits your bag choice. Mount the brackets as far outboard as possible still leaving about 2mm between the head of the strut pivot bolt and the seat rib. These two holes don't have to be perfectly aligned longitudinally on the seat, as long as you have Bacchetta recumbent Seat Strut Clamps. If you still use grenade pins, they do. While you are at it, get the Metabikes recumbent rear stays that feature a bridge connecting the stays for more stiffness.
Attach strut brackets, struts, and mount it all on the recumbent frame. Make sure you adjust the seat clamps so the struts are equidistant from the rear tire. Make sure the seat if roughly at your preferred seat angle. Put masking tape on the frame on either side of the plate so you don't scuff anything with the drill. Drill out all the holes you intend to use, or just all of them to 6mm (1/4" is fine). Deburr holes. (note, the CA3.0 recumbent frames are pre-drilled)
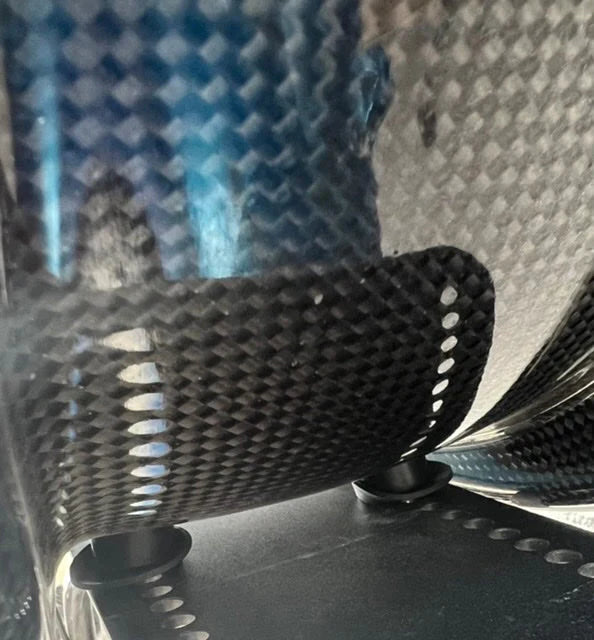
Now drop the seat base onto the recumbent seat plate. Carefully center the seat plate between the rims of the seat and pick holes in the plate where the seat is closest to parallel with the plate. Centering is easy with the new seat as they are too narrow to fit over the seat plate. Mark one hole and drill it. Bolt it down with your chosen hardware and rigid spacers to keep the seat ribs off the sides of the plate. We currently use the Bacchetta Lower Hardshell Mounting Kit. Now recheck that your seat is not twisted and is level, and drill the second hole.
This can take a hour. What I did at Bent Up Cycles was to then make 2 tools that attach extremely well to the upper seat and seat base, each with drill guides and multiple set of holes for different seat angles. Now it takes one minute to drill a recumbent seat perfectly. ;-)
(originally posted on bentupcycles.blogspot.com on 10/10/2012. Written by Jim Verheul, updated by Dana Lieberman)